Navigating the Tube Like a Pro: Tips for First-Time Visitors
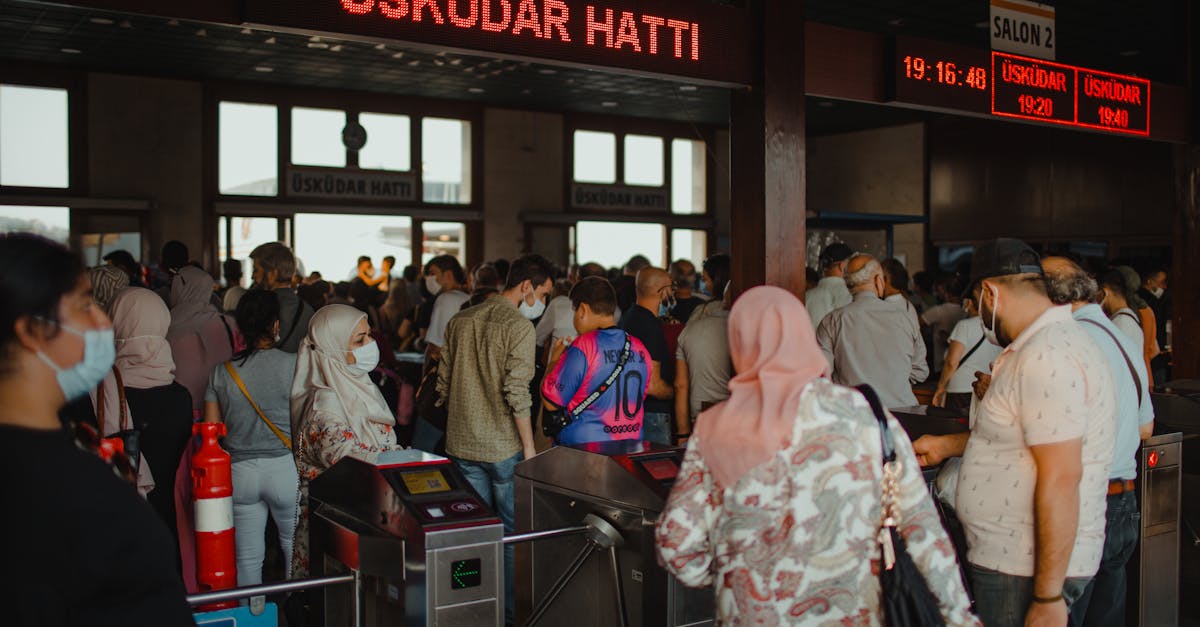 This photo was taken by Faruk Tokluoğlu on Pexels.
Welcome to the beating heart of London! As your local guide, I know that nothing quite captures the city's energy like hopping on the Underground. However, for first-time visitors, the sprawling network can feel a bit daunting at first glance. Fear not, because this guide is here to transform you from a nervous tourist into a confident commuter. We'll walk you through everything you need to know, from mastering the seamless Oyster Card and contactless payments to decoding the iconic Tube map and understanding the crucial zone system. We'll also share essential insights on peak hour etiquette and safety tips to ensure your journey through our underground arteries is smooth, efficient, and enjoyable. Let's get you navigating the city like a true pro!
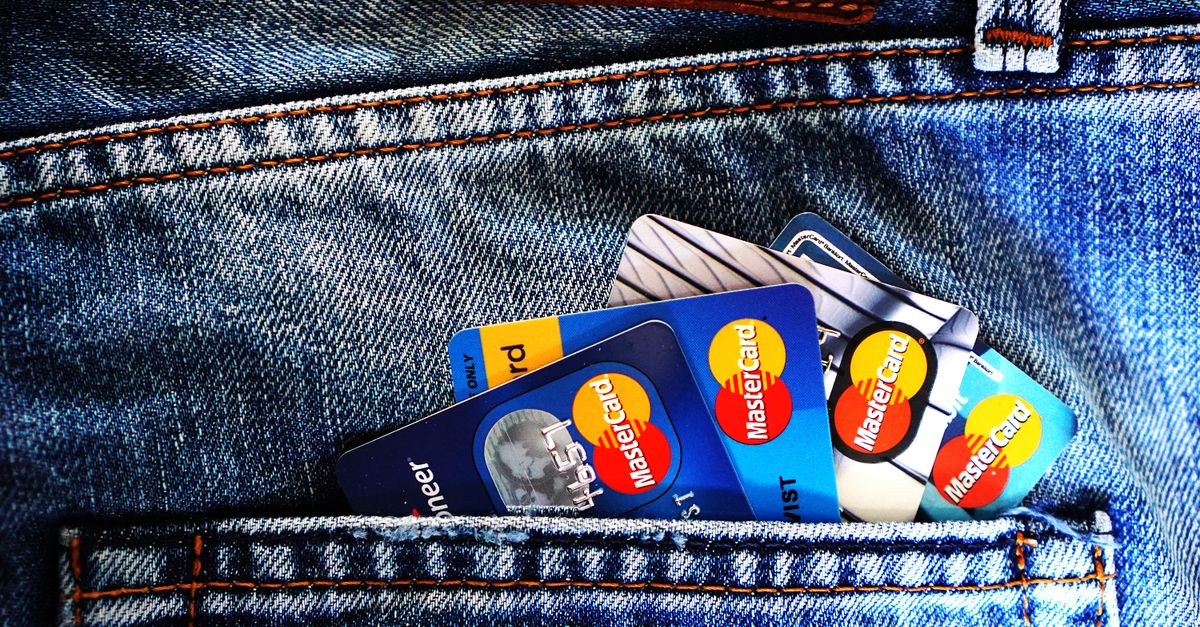
Mastering the Oyster Card and Contactless Payments
Mastering the Oyster Card and Contactless Payments
To truly embrace London's efficient transport network, first-time visitors should prioritize using an Oyster card or a contactless payment method over purchasing single paper tickets. The Oyster card, a smart pink plastic card, can be purchased at any Underground station, tube ticket machine, or online for delivery to your hotel; simply tap it on the yellow reader at the start and end of your journey to automatically deduct the lowest fare available. While this option offers a slight discount compared to cash fares and allows you to cap your daily spending, many tourists now prefer the seamless convenience of paying directly with a contactless credit or debit card, as well as mobile wallets like Apple Pay or Google Wallet, which function identically to an Oyster card without the need for registration or top-up.
The beauty of both systems lies in their automatic "daily capping" feature, which ensures that once you reach the cost of a Day Travelcard for your chosen zones, all subsequent journeys within that day are free, providing immense value if you plan to explore multiple areas. It is crucial to remember to always touch in and touch out on the correct readers at the start and end of every trip; failing to do so will result in a maximum penalty fare being charged to your account. Whether you choose the reusable Oyster card or the simplicity of your own bank card, mastering these tools will save you time and money, allowing you to glide through the Tube stations with the confidence of a seasoned local.
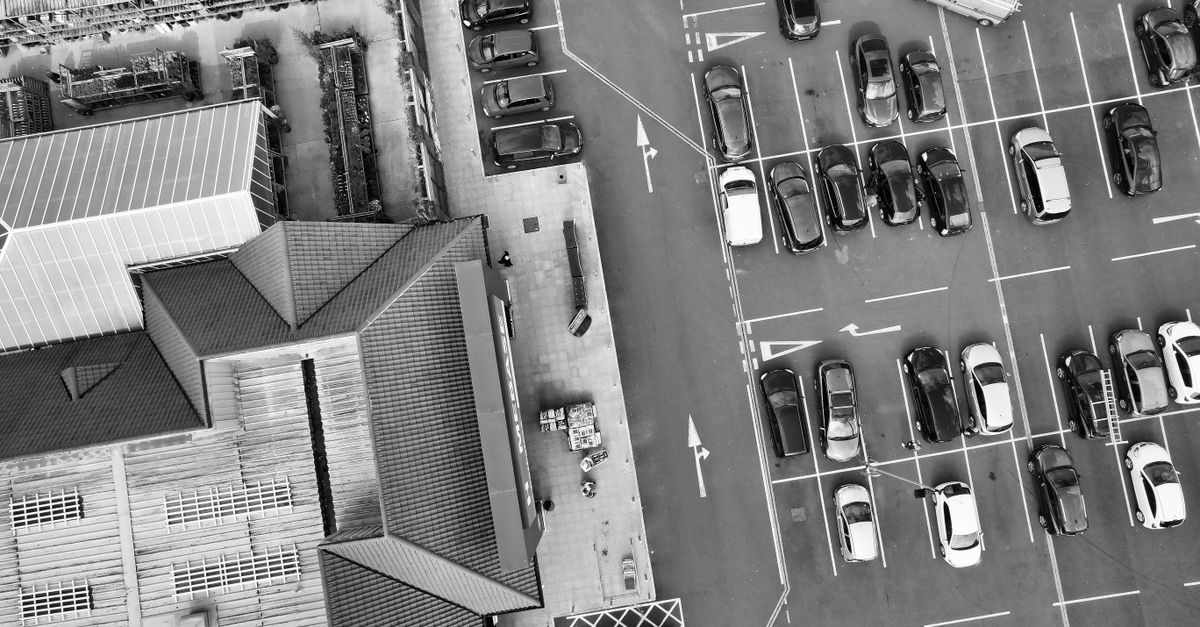
 This photo was taken by Pixabay on Pexels.
Decoding the Tube Map and Zone System
For first-time visitors, the London Underground map can initially seem like a complex puzzle, but understanding its unique design is the key to unlocking efficient travel. Unlike traditional geographic maps, the iconic diagram by Harry Beck prioritizes clarity over scale, using straight lines and 45-degree angles to connect stations regardless of their actual distance or elevation. This means that while a journey might appear short on paper, it could span several miles underground; however, the color-coded lines make it easy to trace your route visually. Remember that the map serves as a schematic guide rather than a precise geographical tool, so always pay attention to the station names printed along the colored tracks to ensure you are heading in the right direction.
Complementing the visual map is the crucial Zone System, which dictates both fare pricing and journey planning across the city. London is divided into six concentric zones radiating from the city center, with Zone 1 covering major tourist attractions like Westminster, Covent Garden, and the Tower of London. When tapping in and out with an Oyster card or contactless payment device, your fare is automatically calculated based on the number of zones you cross, making it essential to plan routes that stay within lower-numbered zones whenever possible to save money. While some popular destinations sit just outside the central area, often in Zone 2 or 3, staying mindful of these boundaries will help you avoid unexpected costs and navigate the network with the confidence of a local commuter.
 This photo was taken by Altaf Shah on Pexels.
Peak Hour Etiquette and Safety Essentials
When navigating the London Underground during peak hours, typically between 7:30 AM and 9:30 AM or 5:00 PM and 7:00 PM, mastering the art of "stand right, walk left" is your first step toward a stress-free journey. On escalators, always keep to the right side to allow commuters in a hurry to pass you on the left; standing still on both sides can cause dangerous bottlenecks that delay the entire station flow. Furthermore, once you have secured your spot inside a carriage, make every effort to move as far into the center of the train as possible, leaving the doors clear for new passengers boarding at the next stop. This collective consideration not only keeps the system moving efficiently but also ensures you are less likely to be jostled by the rush of people trying to squeeze in.
Safety on the Tube extends beyond just etiquette; it requires a keen awareness of your surroundings, particularly regarding personal belongings and platform edges. Always stand well back from the yellow safety line while waiting for a train, especially when the platforms are crowded, as the gap between the train and the edge can be surprisingly wide and uneven. Keep your bags zipped and held close to your body rather than dangling loosely, which makes them vulnerable to snatch thefts common in busy stations like Oxford Circus or Waterloo. By staying alert, keeping your valuables secure, and respecting the physical boundaries of the station, you ensure a smooth and safe experience while exploring this iconic part of London's infrastructure.
 This photo was taken by Pedro Slinger on Pexels.