Navigating the Tube: A Beginner's Guide to London Public Transport
 This photo was taken by Mike Bird on Pexels.
Welcome to the beating heart of London, where beneath the cobblestones and iconic red buses lies a vast, colorful web of underground railways known affectionately as "the Tube." For first-time visitors, this intricate network can seem daunting at first glance, but fear not! Whether you are rushing to catch a show in the West End or exploring the historic streets of the East, mastering the Underground is your key to unlocking the city's full potential. In this guide, we will demystify the famous map, explain how to save time and money with contactless payments and Oyster cards, and share essential tips on navigating peak hour crowds while respecting local etiquette. Let's dive in and get you moving like a true Londoner.
This photo was taken by Mike Bird on Pexels.
Welcome to the beating heart of London, where beneath the cobblestones and iconic red buses lies a vast, colorful web of underground railways known affectionately as "the Tube." For first-time visitors, this intricate network can seem daunting at first glance, but fear not! Whether you are rushing to catch a show in the West End or exploring the historic streets of the East, mastering the Underground is your key to unlocking the city's full potential. In this guide, we will demystify the famous map, explain how to save time and money with contactless payments and Oyster cards, and share essential tips on navigating peak hour crowds while respecting local etiquette. Let's dive in and get you moving like a true Londoner.
Understanding the Tube Map and Zones
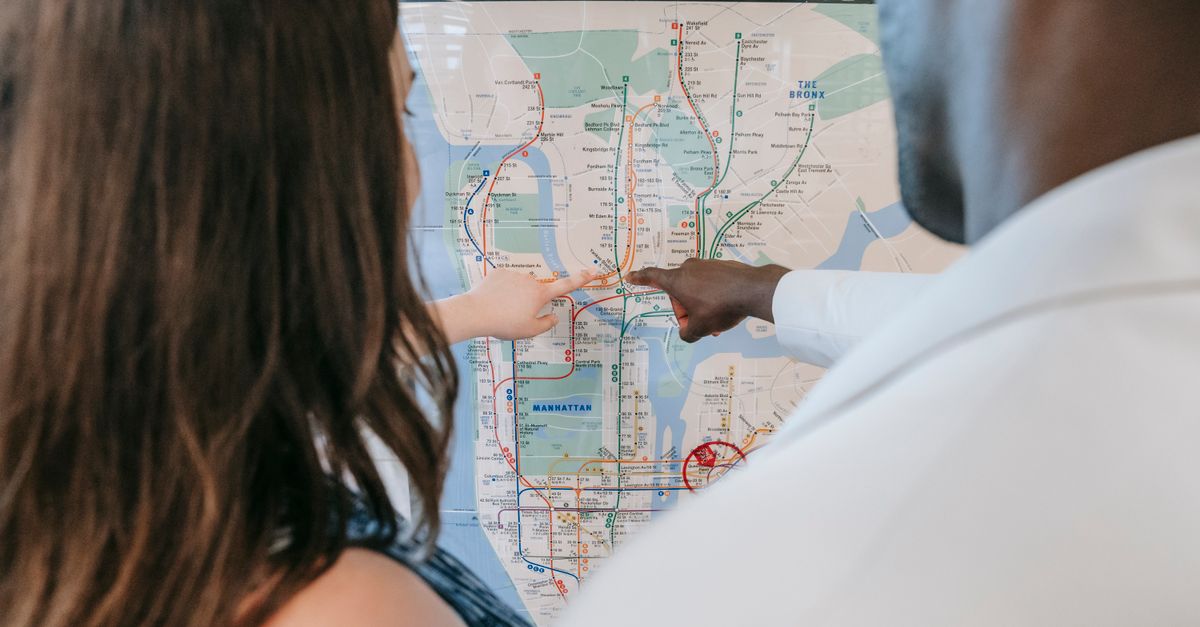
For first-time visitors, the London Underground map is far more than a simple diagram of tracks; it is a stylized schematic that prioritizes clarity over geographical accuracy, making it surprisingly easy to navigate once you understand its logic. The iconic design uses straight lines and sharp angles to connect stations, meaning that while the distance between stops on the paper might look uniform, in reality, some journeys cover much shorter or longer stretches than others. To make your travels seamless, pay close attention to the concentric rings that divide the city into six distinct zones, numbered 1 through 6, as these are the fundamental building blocks for calculating your fare and planning efficient routes from central attractions to the suburbs.
Understanding these zones is crucial because your ticket price depends entirely on how many zones you travel through, with Zone 1 covering the bustling heart of the city where major landmarks like Westminster, Covent Garden, and Oxford Street are located. While staying within Zone 1 is ideal for most day trips, venturing out to places like Kew Gardens or Hyde Park Corner requires crossing into outer zones, so always check the map before tapping your contactless card or Oyster card at the station gates to ensure you are using the correct payment method for your journey. By familiarizing yourself with this system early in your trip, you can avoid unnecessary detours and confidently explore the vast network that has connected Londoners for over a century.
 This photo was taken by Liliana Drew on Pexels.
Paying with Contactless and Oyster Cards
One of the most convenient features of London's public transport system is its extensive contactless payment network, which allows visitors to simply tap in and out using a credit card, debit card, or mobile device like Apple Pay and Google Wallet. This method is often the most cost-effective option for tourists, as it automatically applies daily and weekly fare capping, ensuring you never pay more than the price of an equivalent day or week travelcard regardless of how many journeys you make. Whether you are hopping on the Underground, taking a bus, or riding the DLR, there is no need to purchase a specific ticket for each trip; just hold your card against the yellow reader at the gate or on the bus validator, and you are ready to go.
For those who prefer a dedicated physical card or plan to stay in London for an extended period, the Oyster card remains a reliable and versatile alternative that can be purchased at any Tube station, major train station, or selected newsagents. While contactless cards are generally recommended for short-term visitors due to their ease of use and automatic capping, Oyster cards offer the added benefit of being able to load Travelcards or Bus & Tram Passes for unlimited travel over specific periods, which can sometimes offer savings for frequent travelers. Remember that both systems require you to touch in at the start of your journey and touch out at the end; failing to do so will result in a maximum fare charge, so always ensure you complete the full transaction cycle before leaving the station.
 This photo was taken by www.kaboompics.com on Pexels.
Navigating Peak Hours and Etiquette
London's Underground, affectionately known as the Tube, is a lifeline for millions, but it transforms into a bustling river of humanity during peak hours between 7:00 AM and 9:30 AM, and again from 5:00 PM to 7:00 PM. To navigate these crowded periods effectively, aim to avoid the most congested central stations like Oxford Circus or Waterloo if your schedule allows, and consider using the less busy outer zones or alternative routes on the Elizabeth Line for a slightly more spacious journey. If you must travel during rush hour, be prepared for a slower pace at ticket gates and platforms; keep your Oyster card or contactless payment device ready in your hand before reaching the barrier, and always stand to the right on escalators to allow those in a hurry to pass on the left, ensuring a smooth flow of traffic.
Manners are just as crucial as timing when riding the Tube, as respecting local etiquette ensures a pleasant experience for everyone involved. Once aboard, move towards the center of the carriage immediately to make room for new passengers at the doors, and never block the aisles with large luggage or backpacks worn on your back. It is also considered good form to keep conversations quiet, refrain from eating strong-smelling food, and offer your seat to elderly passengers, pregnant women, or those with disabilities without being asked. By adhering to these unwritten rules and remaining mindful of your surroundings, you will not only blend in seamlessly with Londoners but also contribute to the efficient and orderly rhythm that keeps this iconic transport network running so well.
 This photo was taken by Skylar Kang on Pexels.